Over a year ago, I was browsing the craft magazines in WHSmiths (as you do) and in amongst the jewellery-making and patchwork magazines I occasionally treat myself to, I spotted something on the cover of one of the sewing magazines. A dress, one that I’d actually wear. Turns out the dress in question was the free pattern with that edition of Sew Magazine.
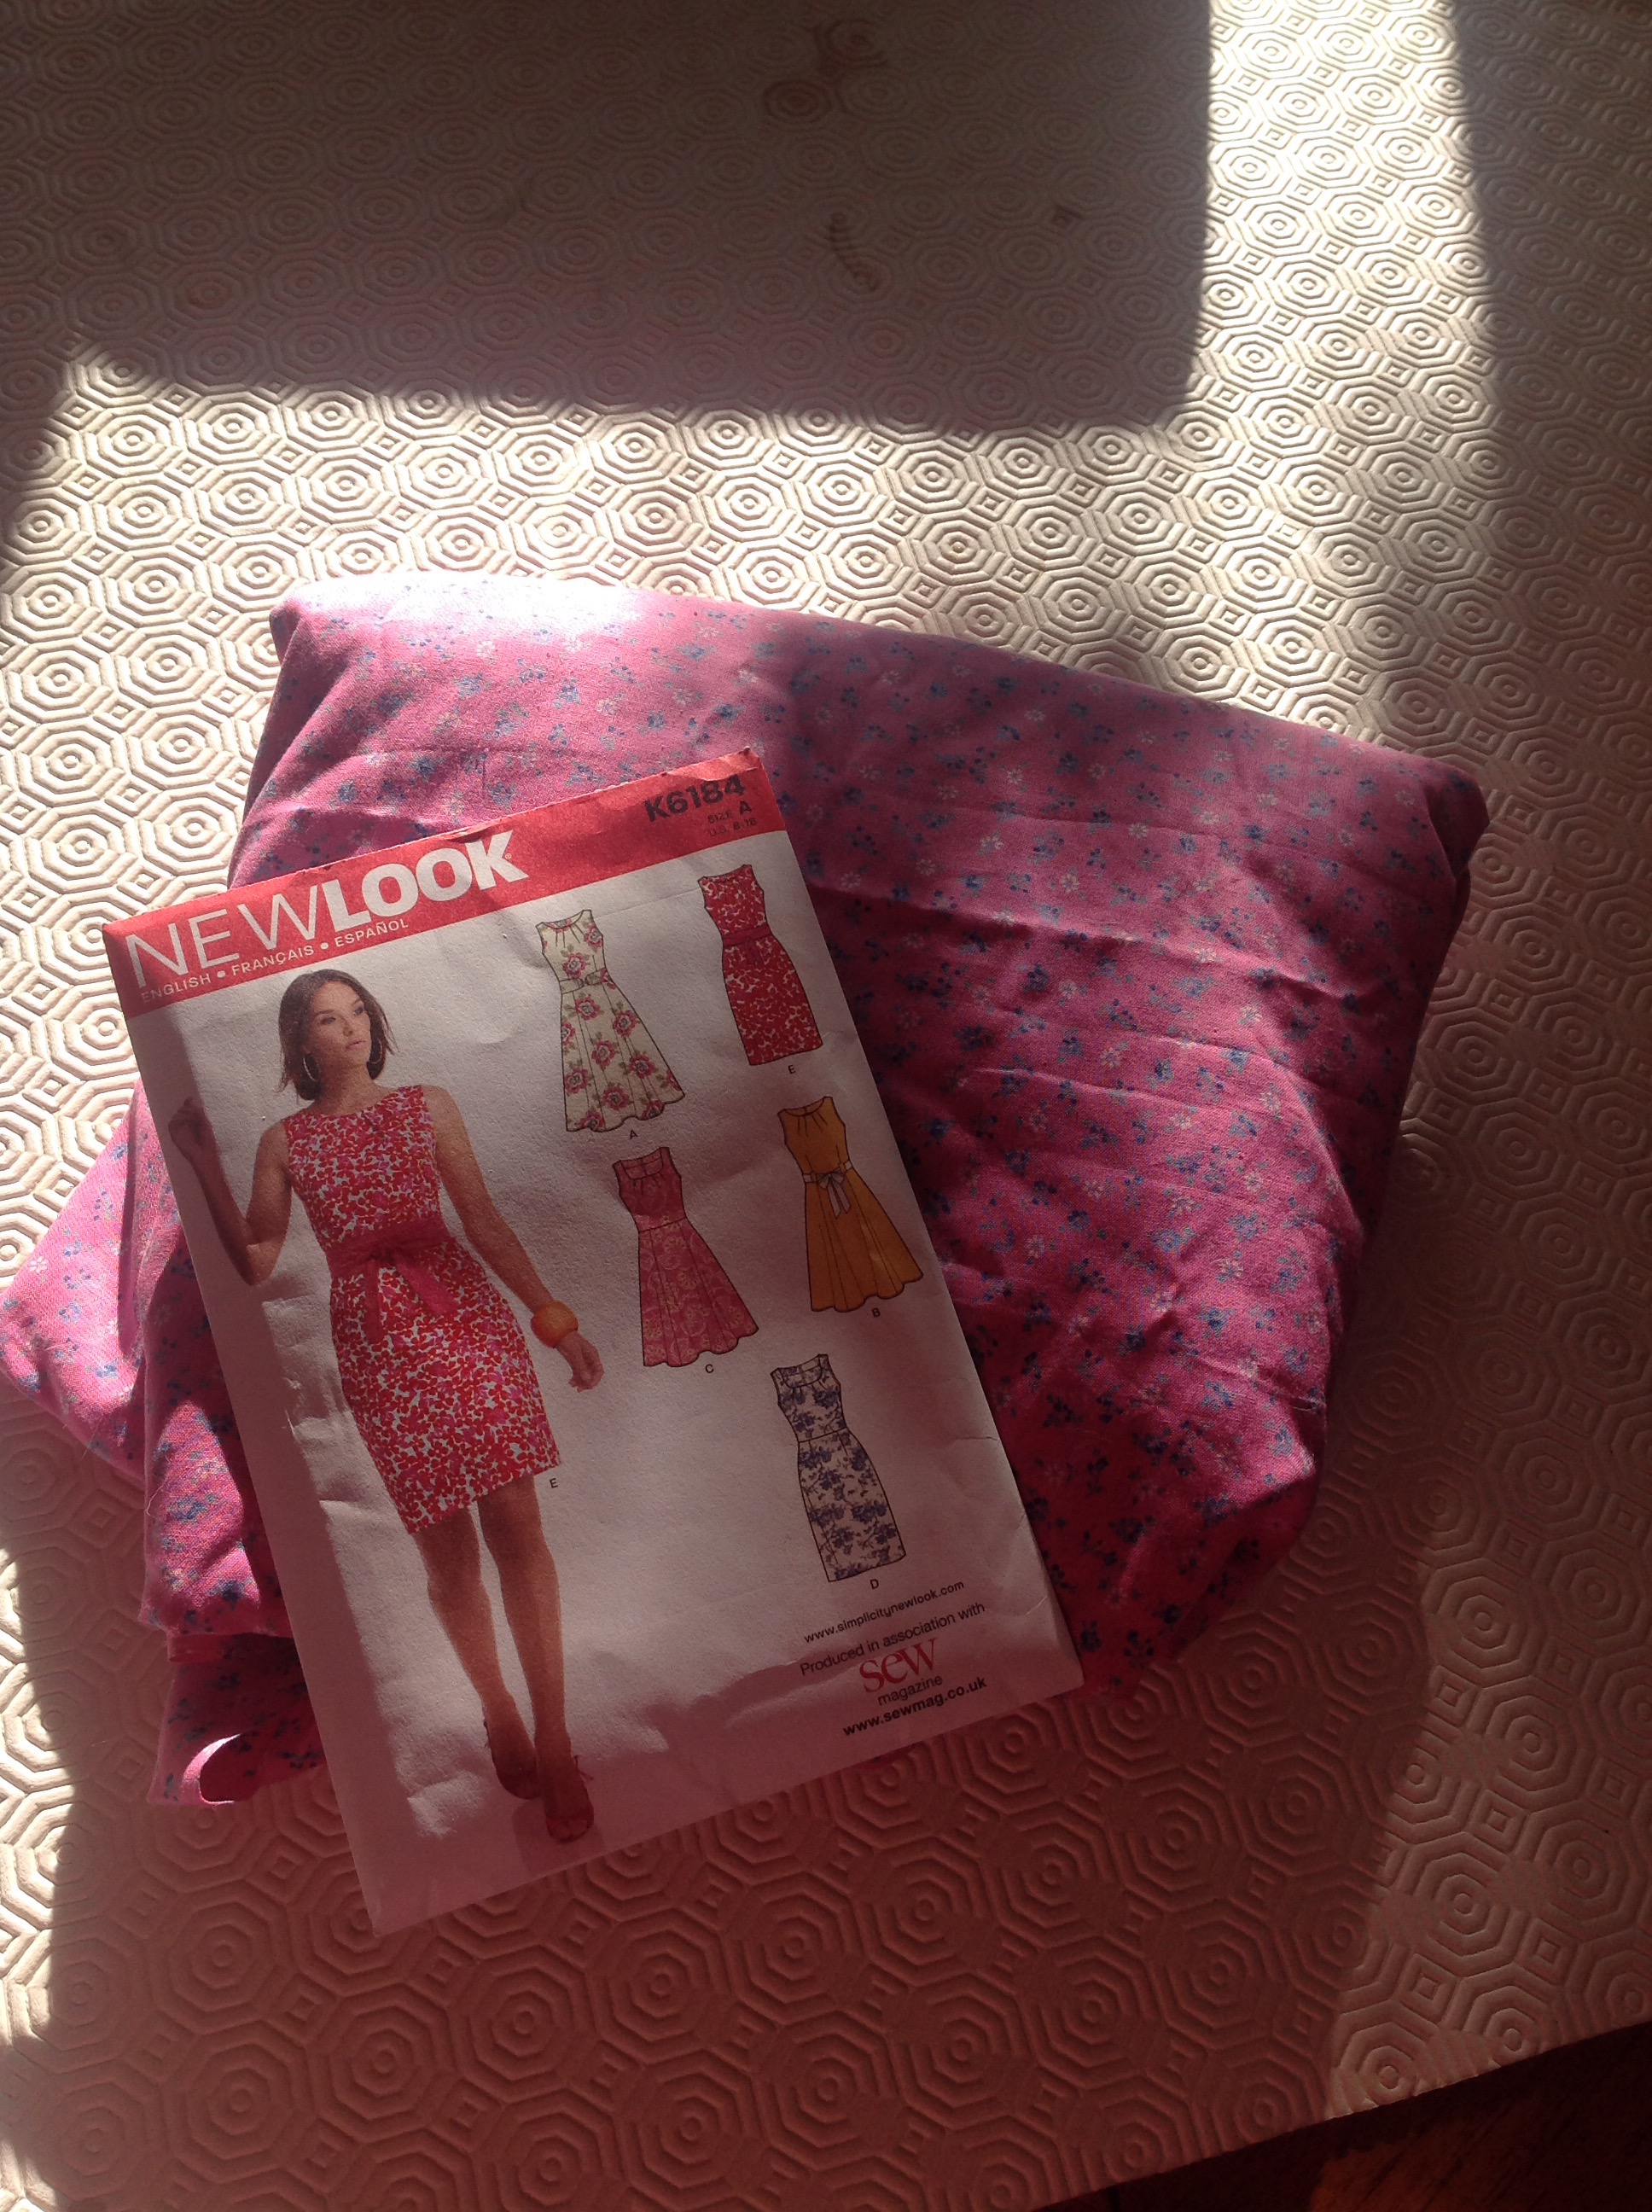
The pattern and the fabric I used
Having toyed with the idea of starting to sew – I decided this could be where I start. So I bought it.
I then proceeded to stare at it for quite a while. I read the magazine article and thought – OK, that may as well be written in Greek. It made no sense to me whatsoever. And that was before I even looked at the pattern. Time for some expert help. So next time I went to my parents’, I took it with me.
After looking at the pattern, Mum very confidently told me, “You can make this.” (I’m glad one of us was sure about that). As we’re discussing what sort of fabric I should buy to actually make the dress, she mutters “I may have something…” and vanishes upstairs. She came back down with her arms full of pink floral fabric.

A close up of the fabric
Turns out she bought this in the 80s and never used it all. It was probably bought with me in mind anyway as she really doesn’t do pink (except for the odd hen do)… So she’s generously donated it to my trial run. (She’s still got masses left so it may reappear in a future project).
After a bit of discussion, she decided version E would be the best one for me to start off with – a straight skirt, pleated neckline and contrast tie-belt.
I never realised how complicated cutting out a pattern was. There was so much to bear in mind – the grain of the fabric, where the fold should be, the right and wrong side of the fabric… I hadn’t realised how important those little diagrams were that show you where to put each pattern piece – now I know better.
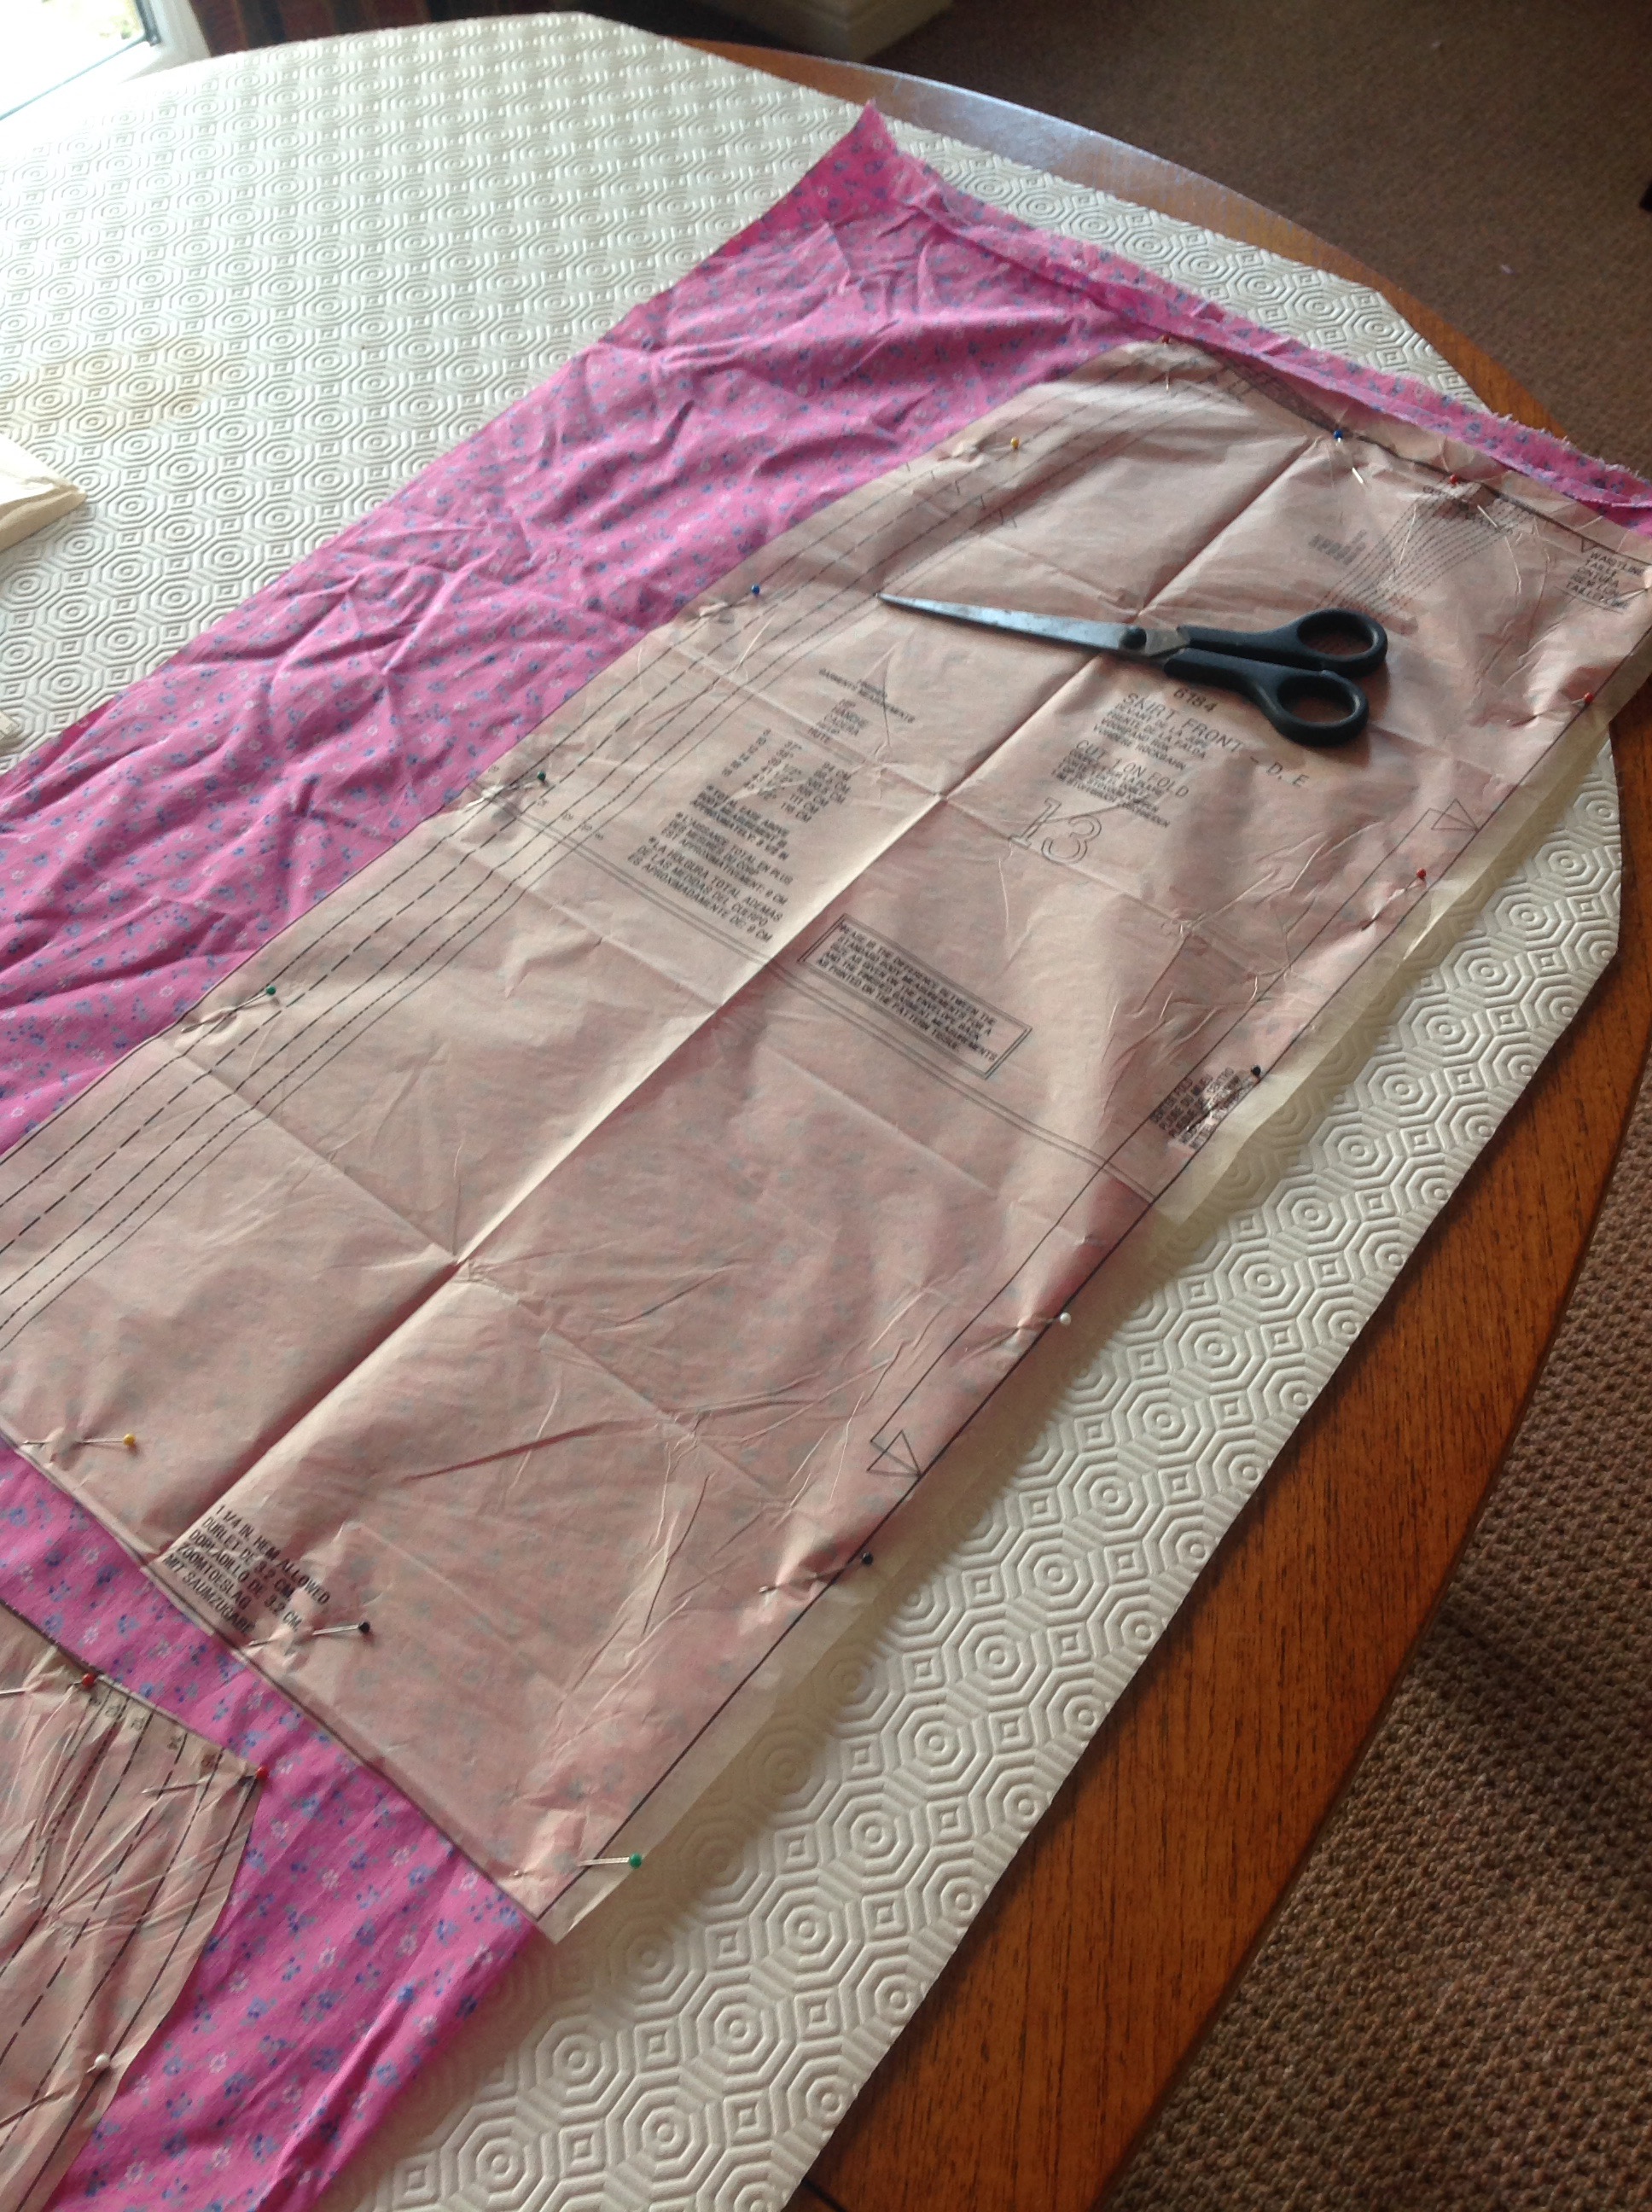
Cutting out
Once I’d got everything cut out, I discovered I needed to transfer all these little marks from the paper to the fabric.How do people do this exactly? It’s like trying to trace something only you need to draw on the bottom piece of paper. Thank god she introduced me to tailor tacks – live savers!
All of this took up most of an afternoon, at the end of which I packed everything up again and headed home. it stayed packed up for quite a while.
Eventually I gritted my teeth and got it back out again. Looked at it, read the instructions and decided I didn’t want to do this on my own.
So – back up to my parents, taking all my pattern pieces and my sewing machine. (For those who don’t know, my parents live two hours away, so I can’t just pop round in an evening…)
After reminding (telling) me how to set up and thread my machine, we got started. As my mother’s machine is merrily whirring away (making new covers for my armchair – thank you Mum!), I very slowly, and almost reluctantly, put two darts in the front bodice of my dress. One of them took a couple of attempts to get right, but I did it!
Beginning to feel confident, I then started on the pleats at the neck. This took a while as I had to redo all the dotted lines (did I mention I hate chalk pencils?). However, I now have a pleated neckline. It’s starting to look like it could one day become a piece of clothing.
Deciding I had the hang of it, I moved on to putting darts into the back of the bodice. Meanwhile my mother was looking at my instructions and decided to make a few comments…
So I’m now doing things in a slightly different order, but I’ve been assured this will make adding the zip much easier – if I ever get that far.
My next job on the dress is to start working on the skirt and actually putting pieces together. I’ll let you know how it goes…
